DICHROIC GLASS
DICHROIC GLASS
MOST INFO FROM HOWARD SANDBERG OF COATINGS BY SANDBERG
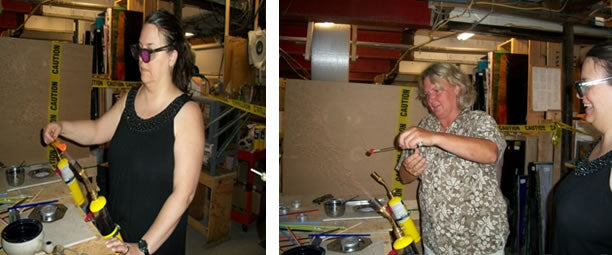
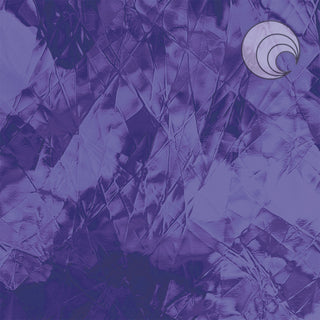
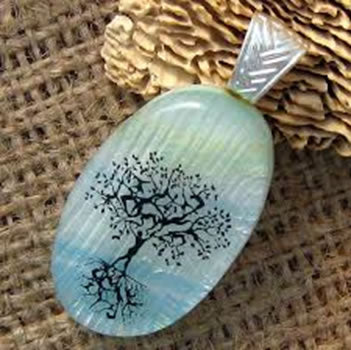
Dichroic glass is one of the most beautiful things SGE carries and it has been one of the most challenging. It was kind of nice to see on CBS page “the history of dichroic glass” that Howard says, “When you look at the history of an artist using Dichroic coated glass, it appears that the artist has been under the major handicap of not having any information on what he or she was working with. These artists were exposed to a piece of glass that had interesting color effects but came from a very complex and scientific industry not easily understood. These ‘high-tech’ coatings were capable of reflecting a narrow band of light (or one color) and at the same time, transmitting the remaining part of light.” So at least it was not just us facing challenges. I could go on about how the development of this metal film was done by our military and aerospace industries. The text would make your head hurt! It was 30 years (mid 70s) ago when CBS started production for art applications. When SGE first brought in some dichroic glass it was a big deal. We made a special display rack for it. We were displaying 1 piece that was about 2x4 inches of each one. We outgrew that fast! Then we would get questions about what it was going to do. We had some idea but not much. To complicate things, we didn’t even always know what we were getting. A customer would buy a piece that was rainbow or mixed and one part of the glass would behave one way and another part another way. Then our suppliers started to drill down and offer a standard stock and good descriptions. We changed our sku system and our descriptions to help our customers know what they were buying and to help us have them organized in a way that the customer could find what they wanted, and we would have a way to see gaps in our inventory and keep our stock consistent. About five years into stocking this glass we bought a shrink wrap machine. We bring in the glass, cut it, shrink wrap it and label it. No more ruined pieces from scratches and no more fighting to get the glue from the label off the glass. The only manufacturer we currently have is CBS. Coatings by Sandburg. Occasionally we see some Duncan (which has little designs like dragonflies on it) but not often. We stock both 90 and 96. We also stock some 104 and 33 Coe for flame workers and glass blowers. We also have dichroic frit flakes.
. 


 1908
1908